In this article and the related videos, we will explain in 4 steps how to assemble Kramp's cylinder do it yourself kit.
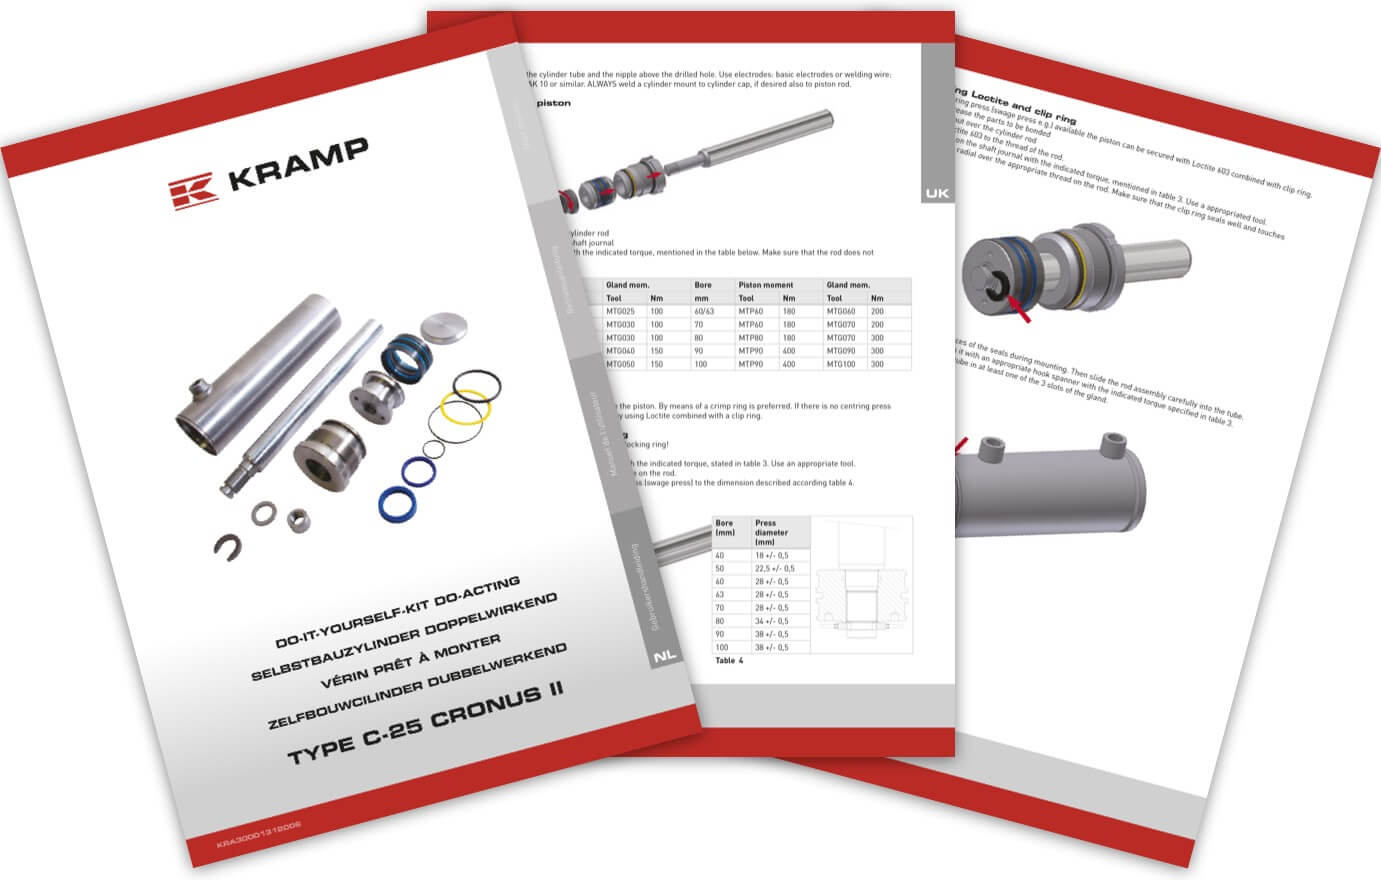
First of all, when assembling, pay attention to your own risk and that you have sufficient background knowledge before you start! If necessary you can download the cylinder kit manual at the bottom of the page.
Start
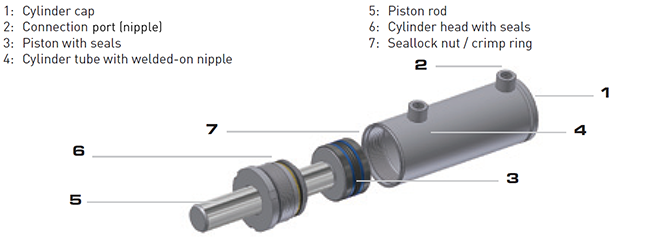
For the assembling of the cylinder you need the following parts:
There are a few technical characteristics required when assembling a cylinder:
- A maximum permissible pressure of 250 bar.
- The temperature range seals from -30 to +100°C.
- The maximum permissible piston speed is: 0.5 m/s.
- It is suitable for mineral hydraulic oils.
Step 1: cleaning and cutting
The first step is to clean all parts with compressed air or a clean cloth. After cleaning you can start with cutting the cylinder tube and the piston rod. Make sure you leave the cardboard around the piston rod when cutting, to prevent damaging the chrome. Remove any sharp edges of the tube and rod after cutting.
Step 2: drilling
In this step you have to drill a connecting hole at the cap side of the cylinder tube. Thoroughly deburr the drilled hole inside and out. The position and diameter of the connecting hole can be found in the tables 1 and 2 of the manual. It is important that you thoroughly clean the cylinder tube with compressed air after drilling.
Note: NEVER change the position of the port (nipple) which has already been welded on a double-acting cylinder!
Step 3: welding
Weld the cap to the cylinder tube with the port (nipple) above the drilled hole. Use basic electrodes or welding wire, or use MIG MAG. ALWAYS weld a cylinder mounting to cylinder cap and if required also to the piston rod. If desired, you can now also weld a confirmation to it, as in the video.
Tip: weld the bottom in one go to prevent leakage.
Step 4: assemble
Assemble the piston
For a bore of 40 up to 100 there are two ways to secure the piston after assembly:
- By means of a crimp ring (preferred). This step can be seen in the video below from 0:37.
- If there is no centring press (such as a swage press) present, the piston can be secured by using Loctite combined with a clip ring. This step can be seen in the video below from 1:14.
Do you have a bore 25, 30 or 32? Then there's another step-by-step plan:
- Push the cylinder head (gland) over the cylinder rod
- Push the piston onto the shaft journal
- Screw the seal lock nut with the indicated torque, mentioned in table 3. And make sure that the rod does not get damaged.
This step-by-step plan can be seen in the video from 2:00.
Fitting the cylinder head (gland)
It is important that you always grease the contact surfaces of the seals during assembly. Once you have done this, you can slide the rod assembly carefully into the tube. Screw the cylinder head down and fasten it with an appropriate hook spanner with the indicated torque specified in table 3 of the manual. Secure the cylinder head by bending the tube in at least one of the 3 slots of the cylinder head.
Any questions?
Do you still have questions after reading and watching the videos? Please contact one of our product specialists or take a look at the manual below.